
Orchestrating the update of an IIS server farm with PowerShell DSC
PowerShell Desired State Configuration (DSC) makes it easy to apply a configuration to a bunch of servers. But what if the servers are already in production, if the update requires a service restart and we need to make this happen with no service disruption ? That’s a different story.
So I want to share the problems, the considerations and the solutions I had along the way to this goal.
As an example, the environment we are going to work on is an IIS Server farm, which is a Microsoft NLB cluster with 2 nodes.
Our mission, should we choose to accept it, is to perform a major update of the site contents on both web servers, with zero downtime, with PowerShell DSC.
So, here are the main points we are going to cover in this article :
- How to stop/start the application pool of our website when there is an update
- How to apply the configuration on WebServer2 after it is successfully applied on WebServer1
Stop and Start the AppPool only when there is a configuration change
Our “major” website update is actually replacing a single file Index.html in the content directory (C:\inetpub\wwwroot).
I keep the IIS part simple so that we can focus on what really matters : the PowerShell DSC part.
So, we just need to copy the new version of the file, which is stored on a file share accessible at \\DevBox\SiteContents\ to the web servers in the appropriate directory, overwriting the old version of the file.
The built-in File resource can do this easy-peasy.
Regarding the web app pool, we can stop it easily using the resource xWebAppPool, which is part of the module xWebAdministration. Our configuration would look like this :
Configuration UpdateWebSite
{
    Import-DscResource -ModuleName 'PSDesiredStateConfiguration'
    Import-DscResource -ModuleName 'xWebAdministration'

    File Index.html
    {
        SourcePath = '\\DevBox\SiteContents\Index.html'
        DestinationPath = 'C:\inetpub\wwwroot\Index.html'
        Checksum = 'SHA-1'
        Force = $True
        Ensure = 'Present'
    }
    xWebAppPool StartDefaultAppPool
    {
        Name = 'DefaultAppPool'
        Ensure = 'Present'
        State = 'Stopped'
        DependsOn = '[File]Index.html'
    }
}
There are 2 problems with this configuration.
The first one is that a configuration defines the state that we want (Desired State) for the AppPool (Stopped). What we really want is : Stop the Application pool, apply the new configuration and then, bring the AppPool back up.
In a DSC configuration, there can be only one state (property-value pair) per resource.
So what do we do ?
Start the AppPool manually when the configuration is applied ?
That would defeat the purpose of this thing called automation. And, even if we do that, the Local Configuration Manager (LCM) would set it back to the desired state, meaning, it would stop it again if the ConfigurationMode is ApplyAndAutoCorrect.
The second problem is that we need to stop the application pool if, and only if the website content has to be changed.
In other words, the state of the AppPool needs to be changed in the xWebAppPool resource only if the Set-TargetResource function of the File resource has run.
Similar issues were explained here and there was no solution.
The only solution to these 2 problems is to write a custom resource.
This allows us to add a Stop-WebAppPool at the beginning of the Set-TargetResource function and a Start-WebAppPool when the file operation is done.
So we can copy the File resource and just add Stop-WebAppPool and Start-WebAppPool in the code, because PowerShell DSC resources are open source, right ?
No. Unfortunately, the File resource is the only built-in resource which is not part of the PSDesiredStateConfiguration module.
It doesn’t come from a PowerShell module but from : C:\Windows\System32\DscCoreConfProv.dll.
So I wrote a custom resource called cWebSiteContent, which takes care of everything we need, the file operation(s) and the AppPool operation(s).
This article is not about writing a custom DSC resource (this alone would take several articles) but if you want to have a look at it, here it is.
So the new configuration leveraging cWebSiteContent looks like this :
$DevEnvironment = @{
    AllNodes =
    @(
        @{
            NodeName                   = '*'
            PsDscAllowPlainTextPassword= $True
            Role                       = 'WebServer'
            SourcePath                 = '\\DevBox\SiteContents\Index.html'
            DestinationPath            = 'C:\inetpub\wwwroot\Index.html'
            Checksum                   = 'SHA256'
            Force                      = $True
            WebAppPool                 = 'DefaultAppPool'
        }
        @{
            NodeName = 'WebServer1'
        }
        @{
            NodeName = 'WebServer2'
        }
    )
}
Configuration UpdateWebSite
{
    Param (
        [Parameter(Mandatory)]
        [PsCredential]$Credential
    )
    Import-DscResource -ModuleName 'PSDesiredStateConfiguration'
    Import-DscResource -ModuleName 'cWebSiteContent'

    Node $AllNodes.Where{$_.Role -eq 'WebServer'}.NodeName
    {
        cWebSiteContent www.mat.lab
        {
            SourcePath = $Node.SourcePath
            DestinationPath = $Node.DestinationPath
            Checksum = $Node.Checksum
            Force = $Node.Force
            WebAppPool = $Node.WebAppPool
        }
    }
}
UpdateWebSite -ConfigurationData $DevEnvironment -OutputPath 'C:\Conf\UpdateWebSite' -Credential (Get-Credential)
Note that the configuration data is separated from the configuration logic. All the information which is environment-specific is contained in a hash table and stored in the variable $DevEnvironment.
Then, we feed this data to the configuration by giving the value $DevEnvironment to the ConfigurationData parameter when calling the configuration (last line).
Separation of environmental data from the configuration logic is a best practice : it allows to easily use the same configuration logic for different environments, for example Test vs Prod or CustomerA vs CustomerB.
This is very well but we still have one problem : this configuration doesn’t control the order of operations.
So, when the new configuration is applied, it could stop the application pool on WebServer1 before, after, or at the same time as WebServer2. This could result in downtime for the end-users, and we don’t want that.
If we are in a Push model, we could manually push the configuration to WebServer1 and when this is done, we push the configuration to WebServer2. But this is ugly, manual and this would prevent us from achieving Continuous Deployment.
Setting the order of operations using a cross-node dependency
Unlike scripts, the order in which the different resources in a configuration are executed is not top-to-bottom. It’s normally random.
And even if it looks like it run top-to-bottom, don’t rely on it because the order is not guaranteed. The proper way to make one resource run after another is the DependsOn property.
But in our example, we want the resource cWebSiteContenton WebServer2 to run after the same resource on WebServer1.
For that, we need to use another mechanism called : cross-node dependency. This is implemented as 3 special resources :
WaitForAllWaitForAnyWaitForSome
C:\> Get-DscResource -Name 'WaitFor*' -Syntax
WaitForAll [String] #ResourceName
{
    NodeName = [string[]]
    ResourceName = [string]
    [DependsOn = [string[]]]
    [PsDscRunAsCredential = [PSCredential]]
    [RetryCount = [UInt32]]
    [RetryIntervalSec = [UInt64]]
    [ThrottleLimit = [UInt32]]
}

WaitForAny [String] #ResourceName
{
    NodeName = [string[]]
    ResourceName = [string]
    [DependsOn = [string[]]]
    [PsDscRunAsCredential = [PSCredential]]
    [RetryCount = [UInt32]]
    [RetryIntervalSec = [UInt64]]
    [ThrottleLimit = [UInt32]]
}

WaitForSome [String] #ResourceName
{
    NodeCount = [UInt32]
    NodeName = [string[]]
    ResourceName = [string]
    [DependsOn = [string[]]]
    [PsDscRunAsCredential = [PSCredential]]
    [RetryCount = [UInt32]]
    [RetryIntervalSec = [UInt64]]
    [ThrottleLimit = [UInt32]]
}
We are going to use WaitForAll here but, because WebServer2 is going to wait for only 1 other node, WaitForAny would work the same in our case.
More information in this documentation page.
Here is the new configuration :
$DevEnvironment = @{
    AllNodes =
    @(
        @{
            NodeName                   = '*'
            PsDscAllowPlainTextPassword= $True
            Role                       = 'WebServer'
            SourcePath                 = '\\DevBox\SiteContents\Index.html'
            DestinationPath            = 'C:\inetpub\wwwroot\Index.html'
            Checksum                   = 'SHA256'
            Force                      = $True
            WebAppPool                 = 'DefaultAppPool'
        }
        @{
            NodeName = 'WebServer1'
        }
        @{
            NodeName = 'WebServer2'
        }
    )
}
Configuration UpdateWebSite
{
    Param (
        [Parameter(Mandatory)]
        [PsCredential]$Credential
    )
    Import-DscResource -ModuleName 'PSDesiredStateConfiguration'
    Import-DscResource -ModuleName 'cWebSiteContent'

    Node $AllNodes.Where{$_.Role -eq 'WebServer'}.NodeName
    {
        cWebSiteContent www.mat.lab
        {
            SourcePath = $Node.SourcePath
            DestinationPath = $Node.DestinationPath
            Checksum = $Node.Checksum
            Force = $Node.Force
            WebAppPool = $Node.WebAppPool
        }
    }
    Node WebServer2
    {
        WaitForAll WaitForWebServer1
        {
            NodeName = 'WebServer1'
            ResourceName = '[cWebSiteContent]www.mat.lab'
            RetryIntervalSec = 4
            RetryCount = 5
            PsDscRunAsCredential = $Credential
        }
    }
}
This dependency is applied only to WebServer2, that’s why it is defined within an additional Node entry which is specific to WebServer2.
Within the WaitForAllresource, the NodeName property is the list of the nodes we want to wait for. We have only 1 in our case : WebServer1.
The ResourceName property is the name of the resource on that node we want to wait for, in the same format as a DependsOn.
The RetryCount property is important. It means the LCM will check if the “Depended-on” node/resource is in desired state 5 times, after that, it will declare it a failure.
Cross-node dependencies are a major use case for PsDscRunAsCredential.
The LCM runs under the Local System Account. Being a local account, it has no permissions on other machines. But, the LCM on the “Dependent” node needs to be able to query the “Depended-on” node.
To make this happen smoothly, we can use PsDscRunAsCredential within our WaitForAll resource, as we did above.
$Credential is a parameter of our configuration, so we are going to specify the credentials when calling the configuration. Let’s do it :
C:\> UpdateWebSite -ConfigurationData $DevEnvironment -OutputPath 'C:\Conf\UpdateWebSite' -Credential (Get-Credential)

cmdlet Get-Credential at command pipeline position 1
Supply values for the following parameters:
WARNING: It is not recommended to use domain credential for node 'WebServer2'.
In order to suppress the warning, you can add a property named 'PSDscAllowDomainUser' with a value of $true to your DSC configuration data for node 'WebServer2'.

    Directory: C:\Conf\UpdateWebSite

Mode                LastWriteTime         Length Name
----                -------------         ------ ----
-a----       29/02/2016     14:03           2134 WebServer1.mof
-a----       29/02/2016     14:03           3252 WebServer2.mof
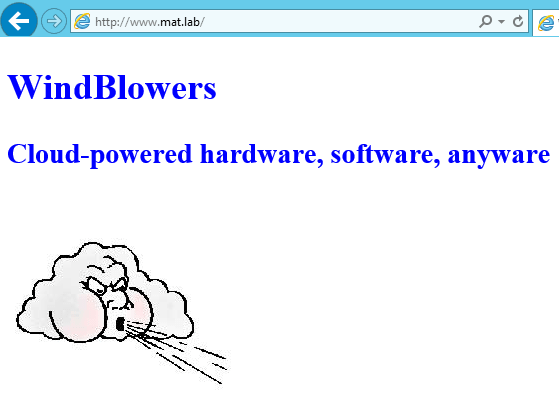
This generates a configuration document (MOF file) for each node. Before pushing these configuration documents to the nodes, let’s have a look at our current website :
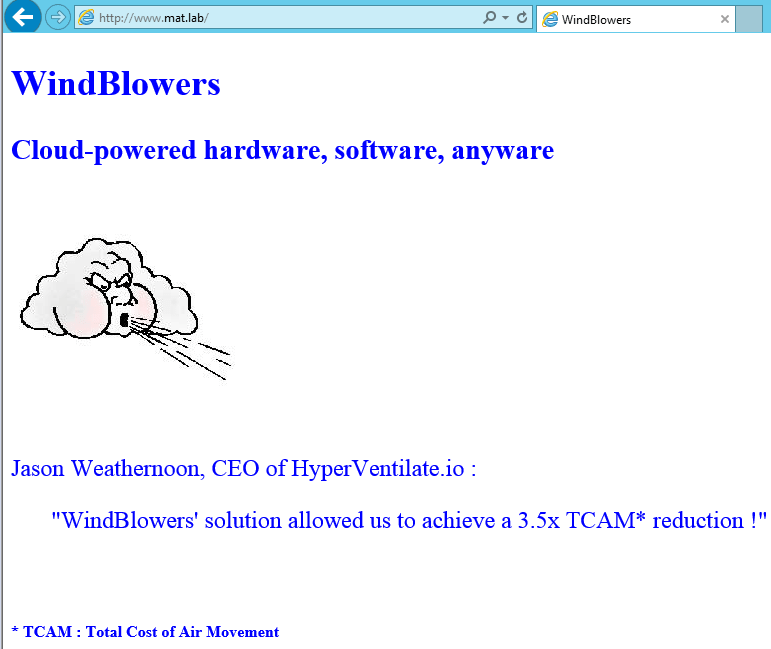
Now, let’s push the configuration to our production Web servers to update our mind-blowing website and check if it gets updated :
So again, this is a simple, maybe even simplistic example, but hopefully it helps understand the pieces which needs to be put together and how powerful cross-node dependencies can be to add a bit of orchestration around DSC.

Leave a Comment
Your email address will not be published. Required fields are marked *